Technology for a Connected Campus
Reduce Complexity
Streamline Operations
Improve the Student Experience
12 million students served | $45 billion transactions facilitated
Technology for a Connected Campus
12 million students served | $45 billion payments processed

Transact Campus Honored with Four Stevie® Awards, including Gold, in the 2022 American Business Awards®
Stevie® winners will be presented their awards on June 13 in New York

We make it easy to go global.
One in every 20 U.S. college students is an international student.* Help these students save time and money when making their next payment.
*MigrationPolicy.org, International Students in the United States

Transact Earns the Ellucian Ethos Connected Badge
With this certification, the company remains the market leader in partner integrations, with more ERP integrations than any other payment facilitator in higher education.
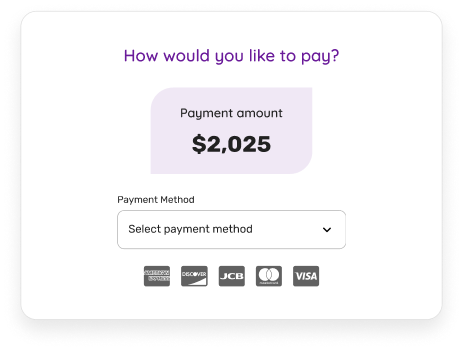
Payment Processing
Streamline your end of day processes with centralized payments, simplified reconciliation, and quick distribution of funds.

Campus Solutions for Every Need
Integrated Payment Solutions
A dynamic campus payment platform
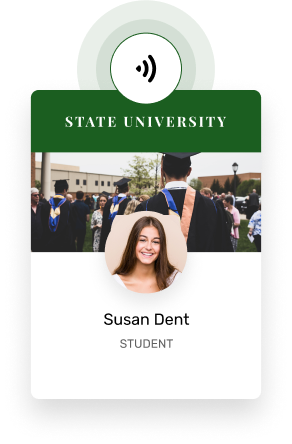
Campus ID Solutions
Use it for everything
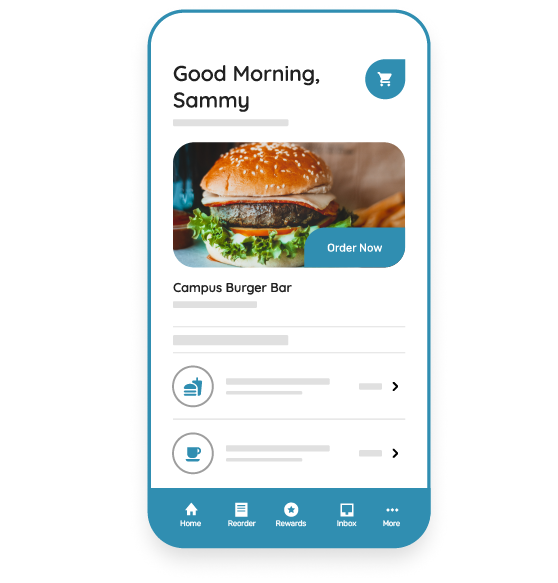
Campus Commerce Solutions
Simplify on- and off-campus purchases
Innovative solutions across a full spectrum of campus life
See how The University of Alabama meets the needs of their mobile-centric students with Transact Mobile Credential.
Move to Mobile Credential helps Mercer University exceed student expectations and simultaneously improve enrollment.
See how The University of Oklahoma met the mobile experience expectations of their students and improved efficiency for their campus card office with the Transact Mobile Credential.
News and Press
Transact Campus Secures its 100th Mobile Credential Client
Major Milestones Highlight Transact’s Focus on Innovation and Growth
Transact Campus Honored with Four Stevie® Awards, including Gold, in the 2022 American Business Awards®
Stevie® winners will be presented their awards on June 13 in New York
Join us in creating a connected campus experience
Request a demo


